Table of Contents
- 1 How to install EVE-NG LAB Full Pack in VMware Workstation (short video)
- 2 How to import eve-ng lab?
- 3 How to install EVE-NG Pack in ESXi (short video)
- 4 How to access the internet from EVE-NG LAB Full Pack nodes?
- 5 How to install EVE-NG LAB Full Pack on VMware Fusion MAC-OS?
- 6 How to Download EVE-NG images from EVE-NG Full Pack on your computer?
- 7 How to Upload new images into EVE-NG Full Pack?
- 8 Troubleshooting:
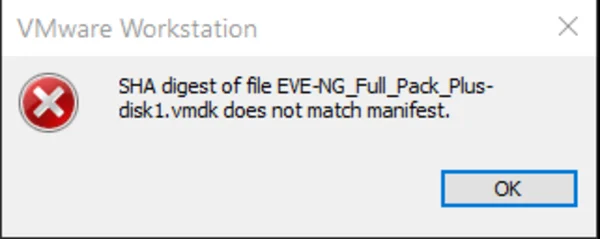
- 8.1 How to fix the SHA Digest of the file doesn’t match the manifest, VMware workstation 16?
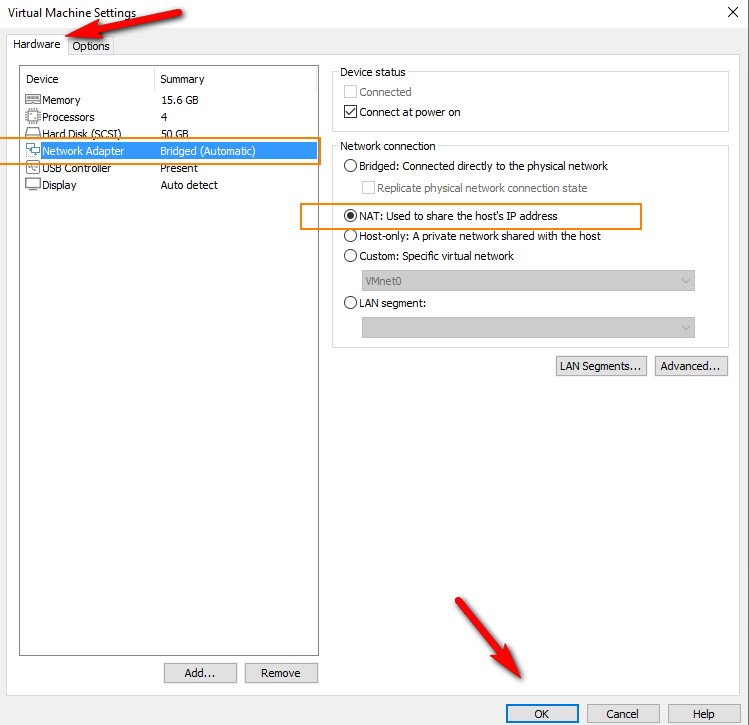
- 8.2 What EVE-NG network setting should I use in case of a WIFI adapter in my computer?
- 8.3 Use the below setting for MAC OS WIFI adapter
- 8.4 How to solve VMware fusion does not support virtualized performance counter on this host?
- 8.5 How To upgrade EVE-NG Full Pack to a Pro Version
- 8.6 IOL images stop immediately after few seconds!
- 8.7 How to generate a license for IOL nodes in eve-ng
- 8.8 Troubleshooting Boot Loader Prompt for Nexus 9K & XRv
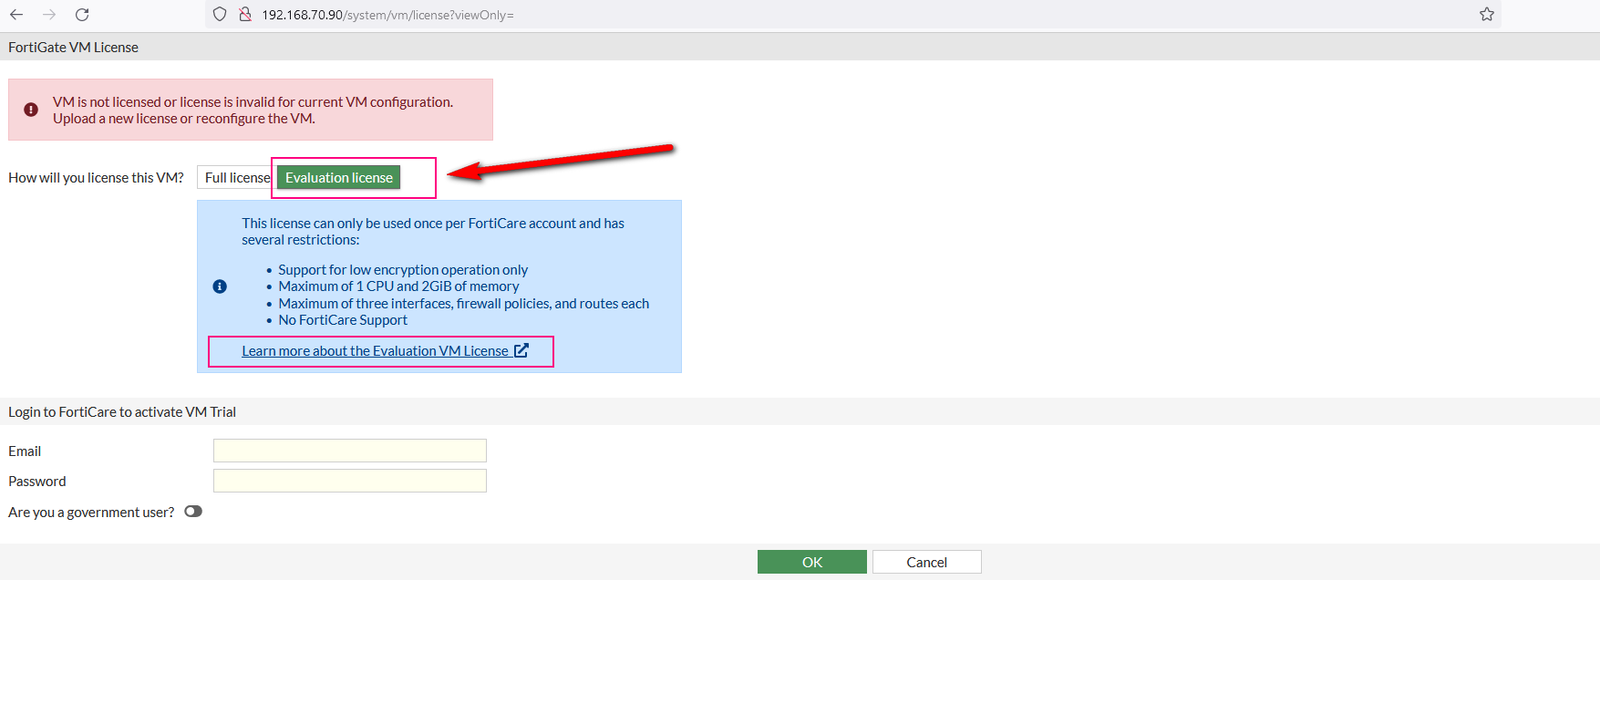
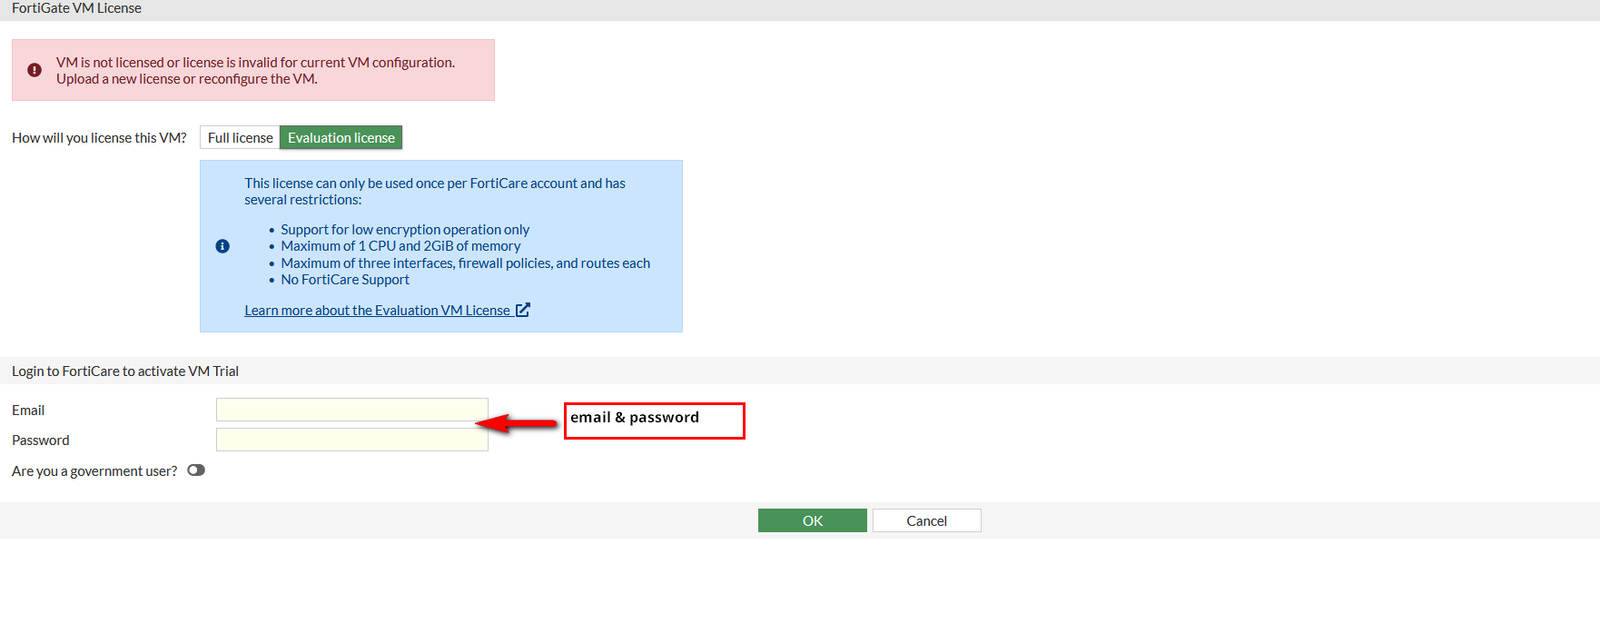
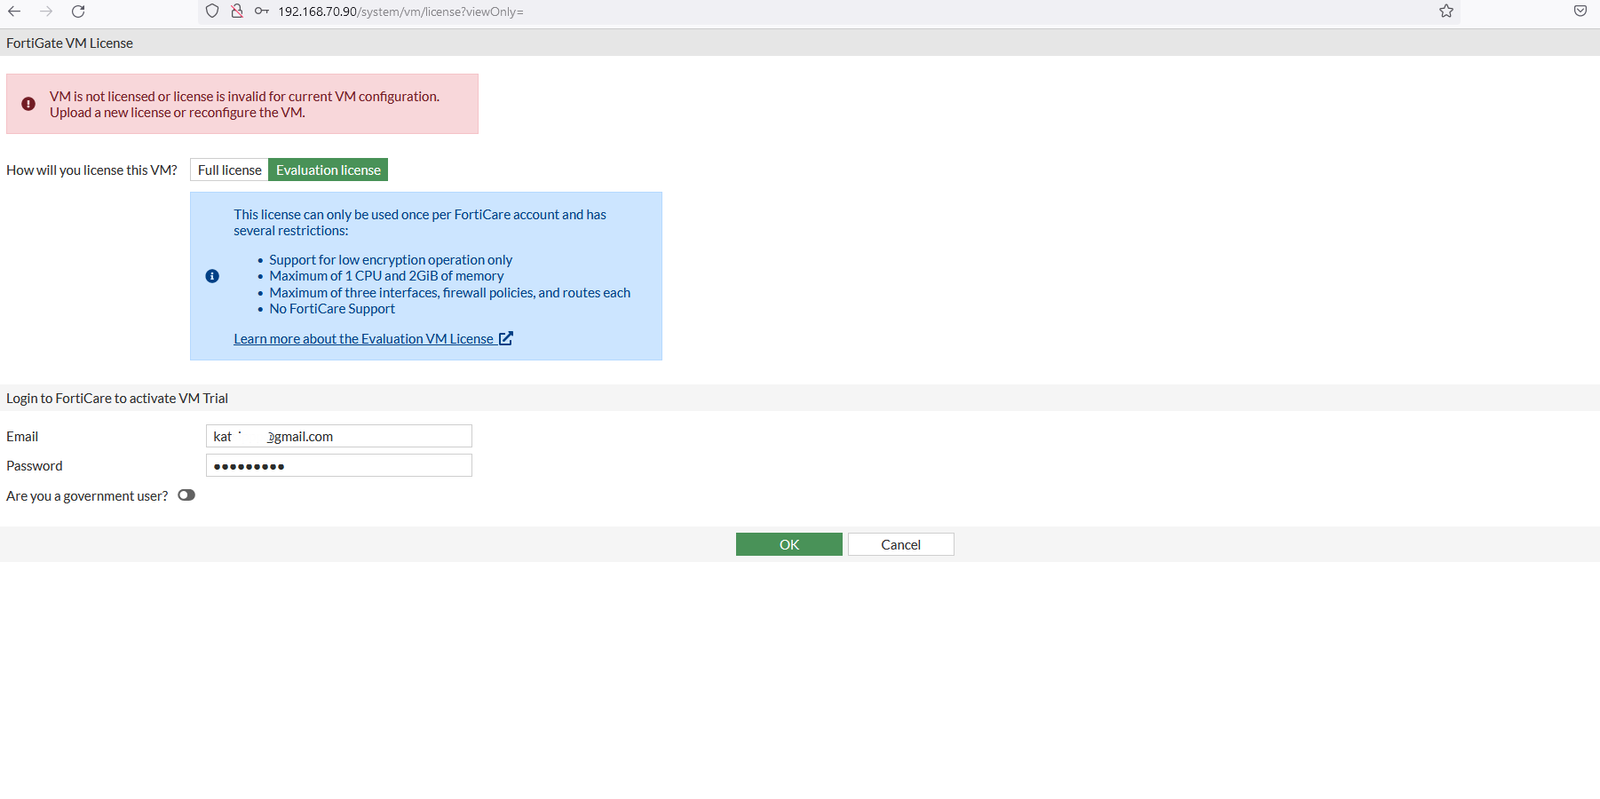
- 8.9 How to activate Fortinet VM Trial on FortiCare