


In the intricate world of network simulation and virtualization, professionals often encounter a myriad of technical challenges that can hinder their progress. Whether it’s dealing with software installation issues, configuring network settings, or upgrading to more advanced versions, the path to a seamless virtual network environment is paved with obstacles that require adept troubleshooting skills.
This article aims to be a beacon for those navigating the tumultuous seas of network simulation tools like EVE-NG and VMware. We will delve into common yet perplexing issues such as mismatched SHA digests, incompatible network settings, and uncooperative virtual machines. From the perplexity of a SHA Digest mismatch in VMware Workstation 16 to the nuances of configuring network settings for EVE-NG on a WIFI adapter, each section is crafted to guide you through resolving these issues with clarity and precision.
We will also explore the steps to upgrade EVE-NG to its Pro version, troubleshoot IOL image crashes, and generate licenses for IOL nodes. For those working with Nexus 9K & XRv, we’ll tackle the Boot Loader prompts, and for Fortinet enthusiasts, we’ll cover activating VM Trials on FortiCare.
By the end of this article, you’ll be equipped with the knowledge to not only solve these specific problems but also apply the underlying principles to a broader range of scenarios in your network simulation endeavors. Let’s embark on this journey of troubleshooting and mastery together.
Table of contents
- How to enable virtualization on EVE-NG
- 1. Resolving SHA Digest Mismatch in VMware Workstation
- 2. EVE-NG Settings for WIFI Adapter
- 5.4 How to solve VMware fusion does not support virtualized performance counter on this host?
- 3. How To upgrade EVE-NG Full Pack to a Pro Version?
- IOL images stop immediately after few seconds!
- Troubleshooting Boot Loader Prompt for Nexus 9K & XRv
How to enable virtualization on EVE-NG
Enabling virtualization in EVE-NG is an important step to ensure that you can run virtual network devices efficiently. Here’s a general guide on how to enable virtualization for EVE-NG:
1. Check if Virtualization is Enabled:
Open a terminal session (SSH) to your EVE-NG instance.
Run the command: grep -cw vmx /proc/cpuinfo.
If the output is zero, virtualization is not enabled.

If it is more than zero, virtualization is already enabled.

1. Resolving SHA Digest Mismatch in VMware Workstation
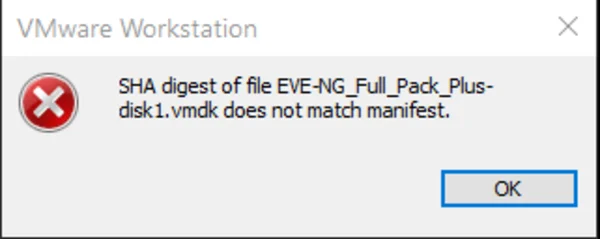
To resolve the issue where the SHA Digest of a file doesn’t match the manifest in VMware Workstation 16, follow these steps:
1-1. Transfer the EVE-NG Full Pack to a different disk drive, preferably an SSD, rather than an external USB drive.
1-2. Ensure that the source drive for deploying the EVE-NG VM is not the same as the destination drive where the VM will be located.
1-3. Verify that there is at least 150GB of free space available where you plan to deploy the OVF file.
1-4. Extract the downloaded parts (part 1 and 2) with 7zip and attempt the upload once more.
1-5. If the issue persists, delete the .MF file and try uploading again.
1-6. Utilize the VMware OVF Tool for a potential fix. This tool can help address issues related to OVF deployments. link
Additionally, if you’re experiencing download issues with Internet Explorer, consider switching to a different browser like Firefox or Chrome, as Internet Explorer is known to corrupt files during the download process.
For further assistance, Watch the video tutorial below that provides a step-by-step guide on resolving the “SHA digest of the file does not match manifest” error in VMware Workstation Pro 16.2. This video includes instructions on how to check file integrity and re-import the appliance using the VMware OVF Tool.
Tip — Remember, if the hash values don’t match what’s in the manifest file, you may need to re-download the file to ensure its integrity. If the values do match, deleting the .mf manifest file and reimporting the appliance with a newly created .ovf file can often resolve the issue.
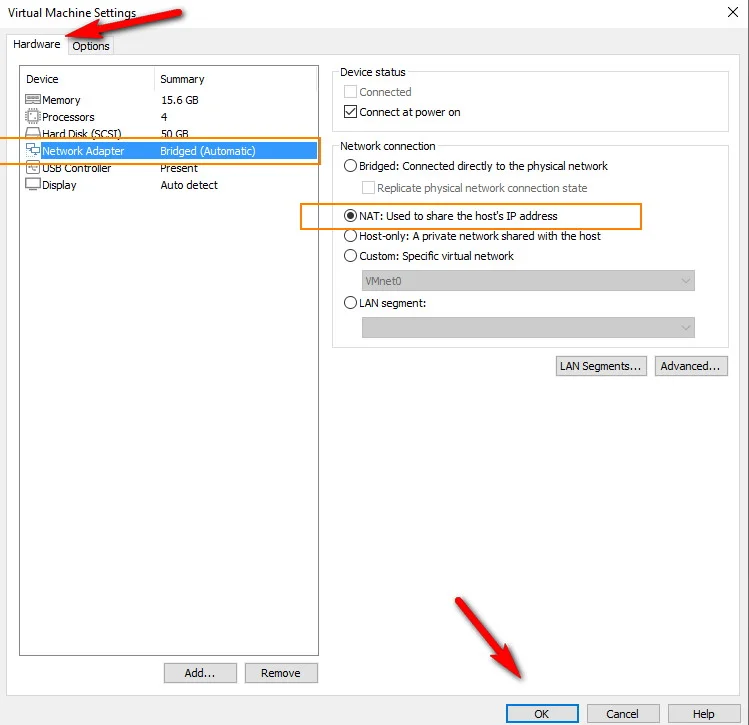
2. EVE-NG Settings for WIFI Adapter
To configure EVE-NG network settings for a WIFI adapter on your computer, follow these guidelines:
In the EVE-NG VM Network settings, select the NAT option to ensure proper connectivity.
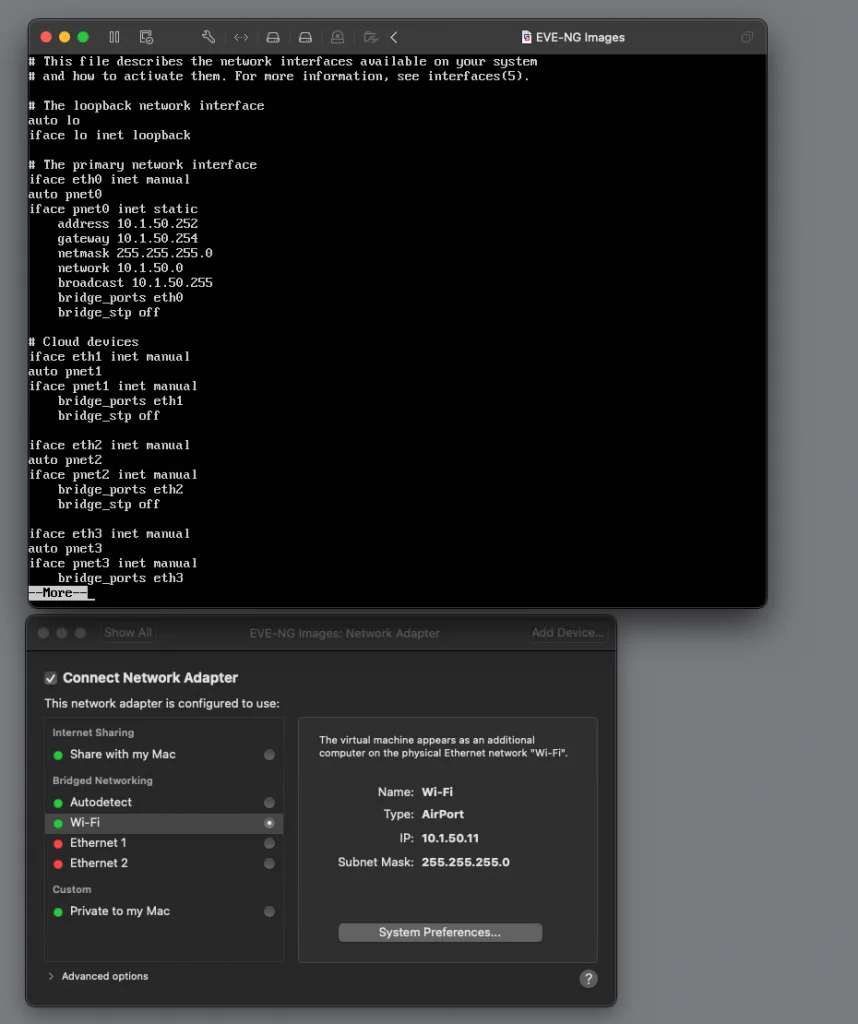
For VMware Workstation users:
- Adjust your settings specifically for a MAC WIFI adapter as required by the software.
For VMware Fusion users encountering issues with virtualized performance counters:
- Navigate to Virtual Machine -> Settings -> Processors & Memory.
- Access Advanced options and uncheck the following options:
- Enable Hypervisor applications in this virtual machine
- Enable code profiling applications in this virtual machine
This should resolve the issue with VMware Fusion not supporting virtualized performance counters on your host. For a more comprehensive guide, you can refer to the detailed documentation available online. link
Tip — Remember, proper network configuration is crucial for optimal performance of your virtual machines, so take the time to ensure all settings are correctly applied. If you encounter further issues, consulting the official EVE-NG and VMware documentation or seeking assistance from their support forums may provide additional insights and solutions.
5.4 How to solve VMware fusion does not support virtualized performance counter on this host?
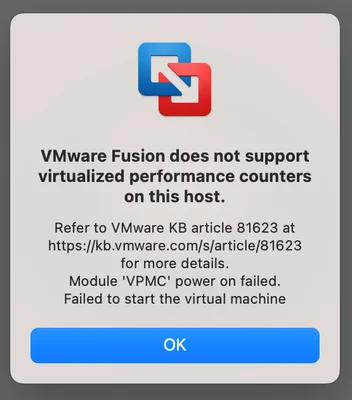
Resolve:
go to the menu “Virtual Machine” -> settings -> Processors & Memory -> open Advanced options and then make sure the following checkboxes are unchecked
Enable Hypervisor applications in this virtual machine
Enable code profiling applications in this virtual machine
For more information visit this link
3. How To upgrade EVE-NG Full Pack to a Pro Version?
How To upgrade EVE-NG Full Pack to a Pro Version
For some reason, maybe you can’t upgrade to the eve-ng pro, don’t worry; you can download all qemu images from this path –> /opt/netlabel/addons/qemu/ and copy all images with Filezilla or WinSCP client and upload all images to the existing eve-ng pro. For more information, please watch the two videos on how to download and upload images from the eve-ng full pack.
How to upgrade EVE Community to EVE Professional
eve-ng official website article
If you need to upgrade your eve-ng community (full pack) version to the pro version!
Please see the link below
Here are the steps, as per the link above you need to go to this path in your eve-ng full pack using Filezilla or WinScp: /opt/unetlab and then copy these three folders into your computer (the paths mentioned in the screenshot) and then you need to install the fresh eve-ng pro and after you have licensed it, copy all these three folders in the same directory from your computer to the eve-ng pro –> /opt/unetlab (screenshot below)

Then there will be one step, you need to generate iol license for your iol nodes like the instruction below.
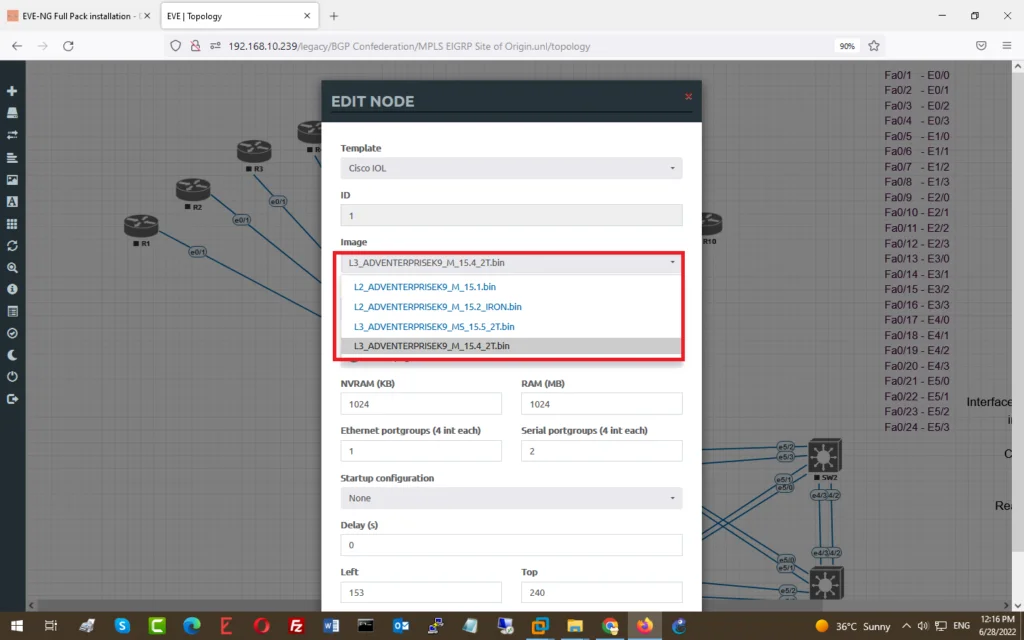
IOL images stop immediately after few seconds!
- First, you can select other images from the image box when you edit the router or switch (R1, R2…); please see the screenshot below.
- Second, Although we have generated a licence for the IOL nodes in the eve-ng full pack in some cases, you need to generate a new licence to make those nodes start normally. If you need to know how to generate a new licence, please watch the below video.
Alternatively, download the above file, then extract it, and copy the extracted two files in the /opt/unetlab/addons/iol directory by FileZilla or WinSCP and then go to eve-ng (pro) shell console and go to the same directory by ” cd /opt/unetlab/addons/iol and apply the fix permission command. /opt/unetlab/wrappers/unl_wrapper -a fixpermissions
Troubleshooting Boot Loader Prompt for Nexus 9K & XRv
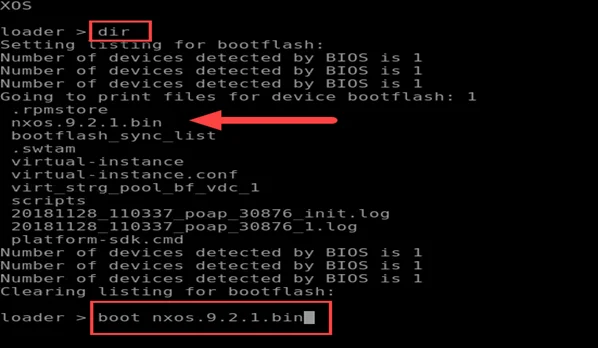
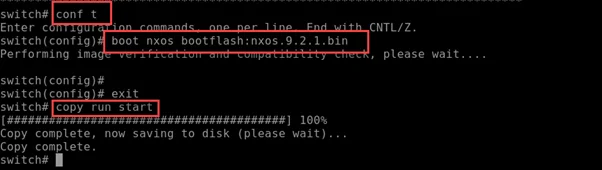
If the system boots and falls into “loader>” prompt. Do the following steps.

Step 1: Issue the command dir to check the directory and enter the command:
boot nxos.9.2.1.bin
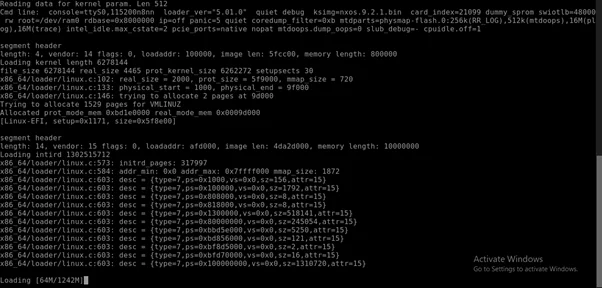
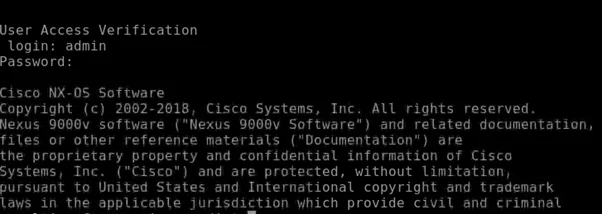
Step 2: Once the switch is booted up, set a password for Nexus 9K,


Step 3: Login to the switch.
How to prevent Nexus 9K from dropping into “loader >” prompt
As soon as you set up your Cisco Nexus 9000 (following setup of POAP interface), you need to configure the boot image in your system to avoid dropping to the “loader >” prompt after reload/shut down.
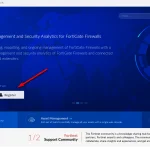
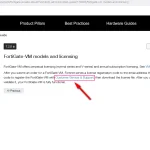
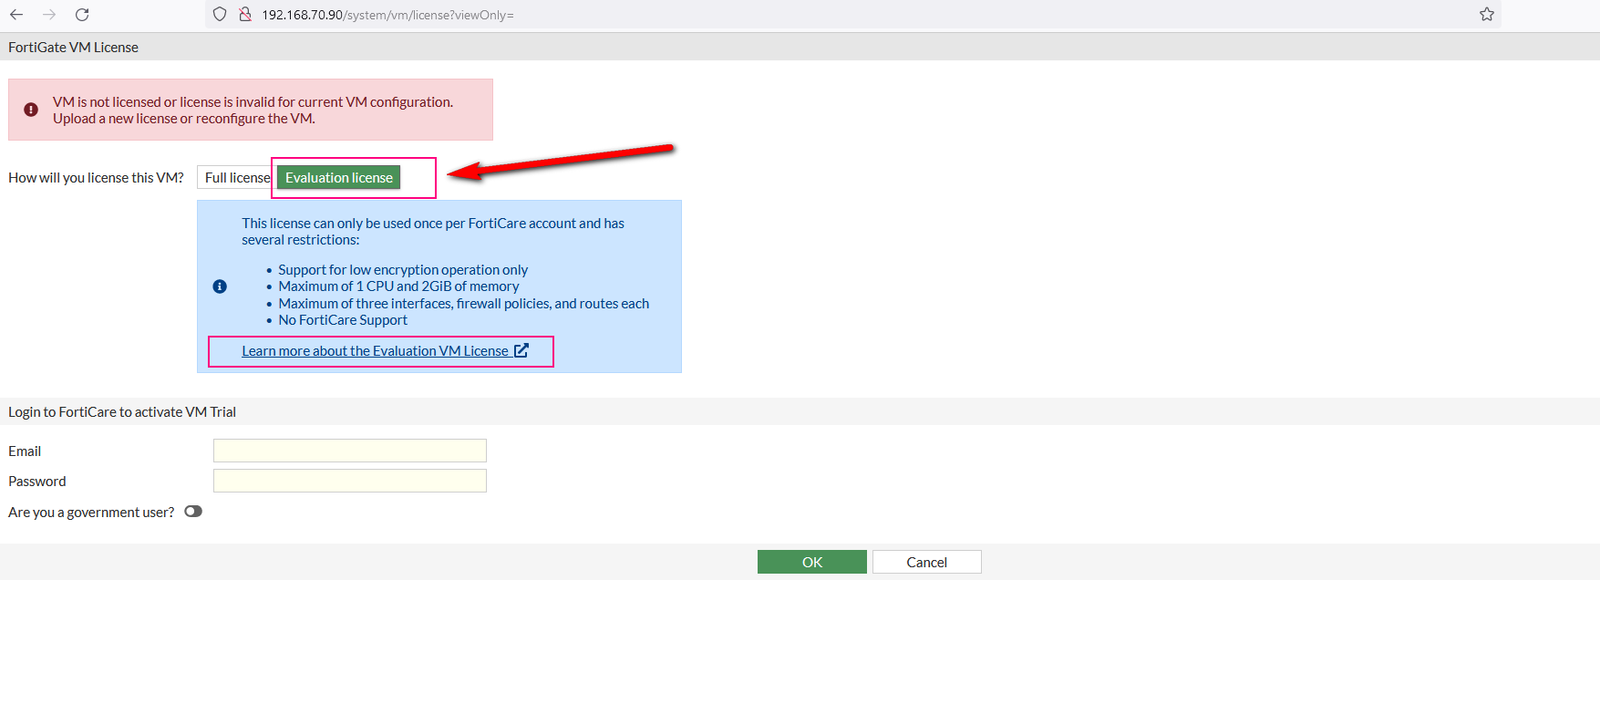
How to activate Fortinet VM Trial on FortiCare